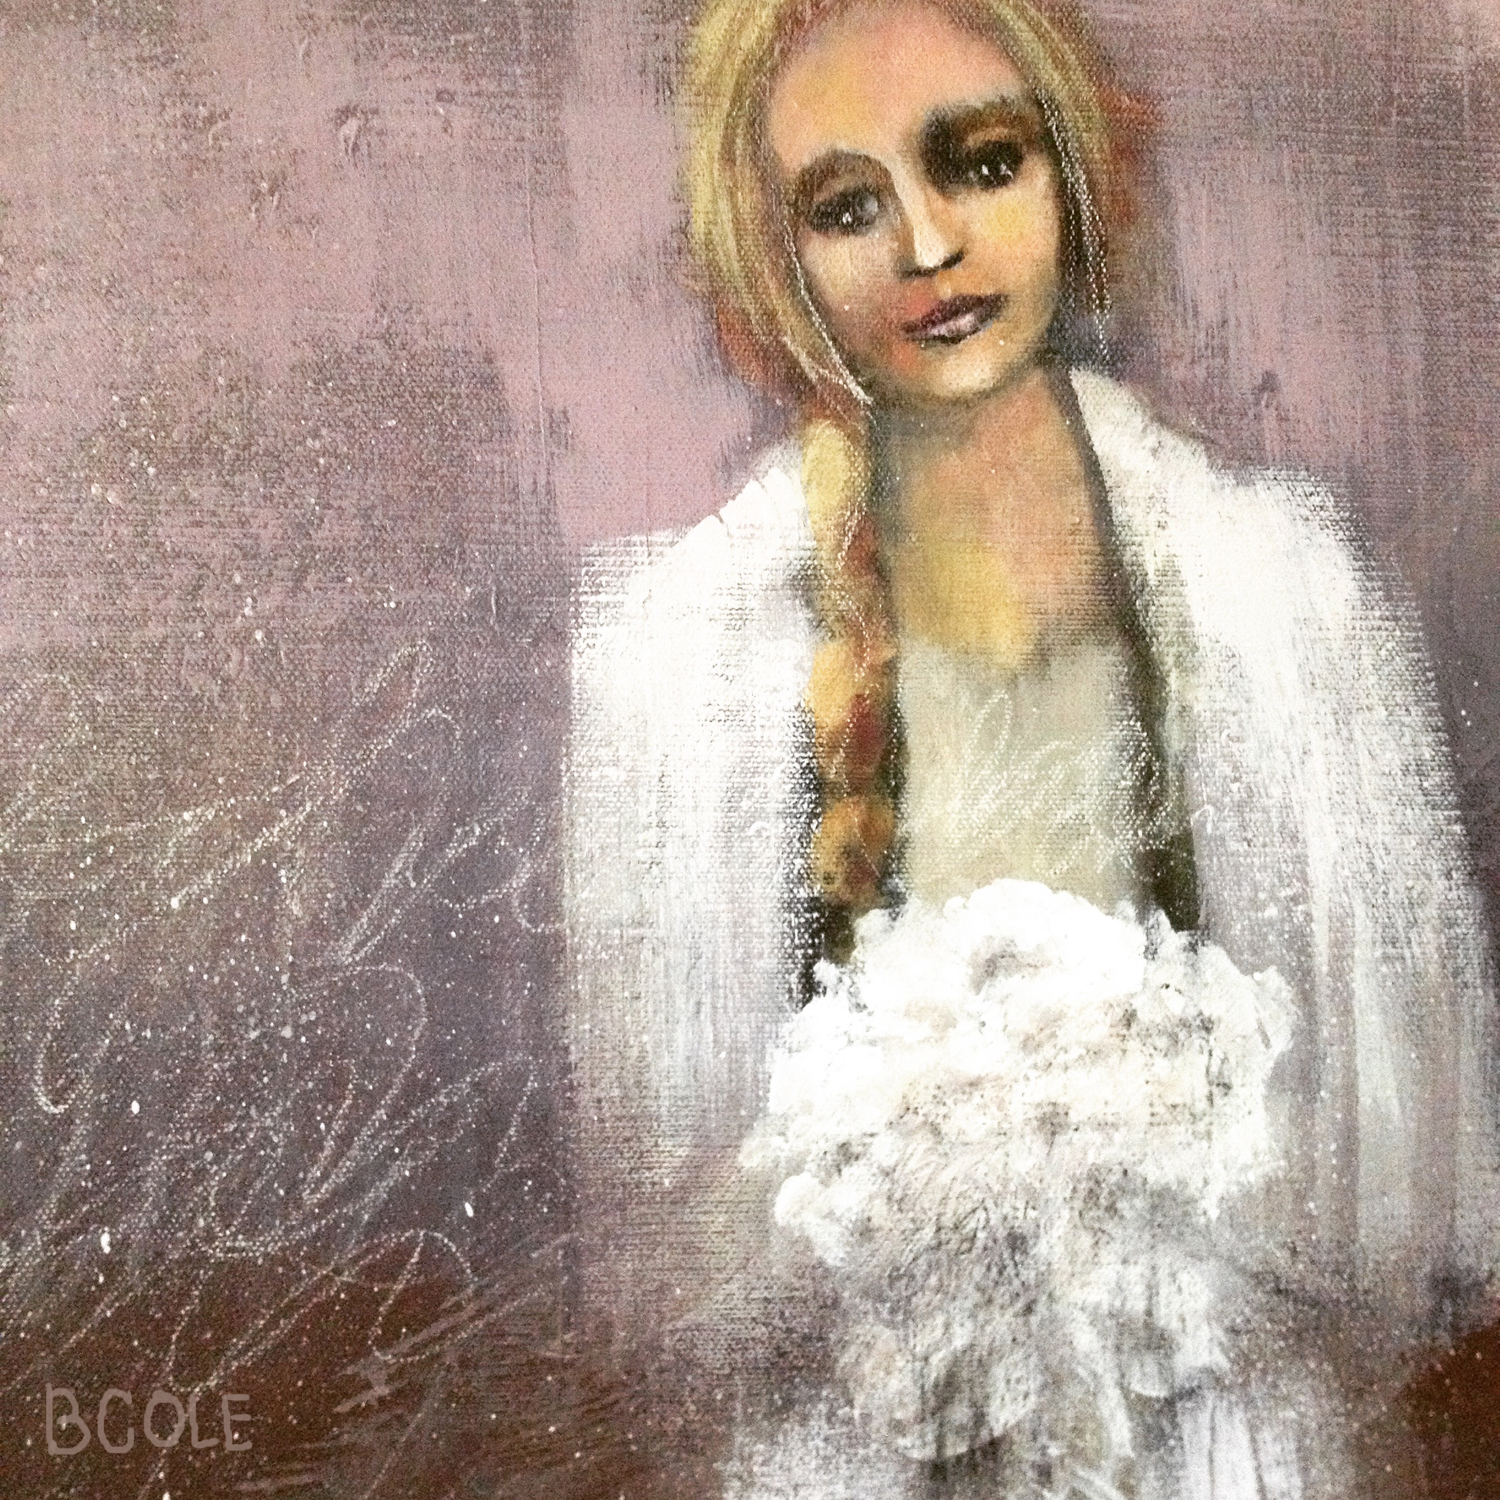
Painting With the Masters - John Frederick Kensett

Painting With the Masters - John Frederick Kensett

Here is another master painting study, a work by John Frederick Kensett titled Mountain Lake.

Kensett was a member of the second generation of the Hudson River School of artists. His work is associated with the American Art style of Luminism. I love this style of painting (along with Tonalism) and I look forward to painting more and applying what I am learning to my new pieces for 2017. 

Read More

Oil + Cold Wax + Photography

Oil + Cold Wax + Photography

SOLD. This piece of our town went to the most loving home of my friend, Deb. I am beyond thrilled that it will receive the kindest love and care. Hooray!

I have been working on other pieces in this series. Here is one of the windmills that serve as a landmark for our town. It is called Wind Poets - 18 x 24 on a wood panel.

Read More

Be Kind To Yourself

Painting is hard work, yes? It doesn’t always go like you expect. Your paintbrush gives you a mudpie when you wanted fresh veggies. You know?

I had one of these paintings just recently. I got up super early to meet my plein air challenge of three a week. It was the morning after a rain. The air was crisp and still. The sun was just coming up but it felt a little stormy. I drove to the tippy top of the east table where I could get a good view of the valley. The sun was dancing magic on the fields below. The yellow grass in the foreground was lit up. The sky in the west began to get darker and darker, super dark blue. I heard rumbles. Saw the wind start pushing those clouds harder and faster toward me. The air was very still. And we know what happens next. Yes, we do.

Storm over the west table

Storm over the west table

I kept painting, painting. Praying for a miracle on the canvas. Praying for the rain to hold off.

Guess what. You guessed it.

The raindrops began to fall. I schlepped everything back into the car. Drove home. Unloaded and took the painting inside to get a better look. Sigh. I didn’t like one single thing about it. The view I saw really spoke to me but something got seriously lost in translation. I'm sorry I can't even bring myself to show it to you. 

I could spend time on this one trying to resuscitate it, nurse it to health if you will. But. There is so.much.more.to.paint. Right? So I’m not going to beat myself up over it, there will be more lemons like this and hopefully, more like the ones I want to paint.

Be kind to yourself my friend. Here’s a little reminder by one of my favorite artists.

After You Finish a Painting - Then What?

On The Road To Halsey © Beth Cole Acrylic on Canvas 36 x 36

On The Road To Halsey © Beth Cole Acrylic on Canvas 36 x 36

It has taken me a while to figure out what to do after I finish a painting. After experimenting with various workflows, this is my current process.

  1. I use Word to create a file for the painting. It includes the name of the painting, an inventory number. I use year/month/# of painting within the month/medium, so for example the 3rd pastel of March this year would be 3163P. You can use any type of numbering system you like. I also include a short description of the painting that can be used whenever you post online or show it in a gallery. This is something I learned from reading Art-Write by Vicki Krohn Amorose. Writing about your art is a good habit in which to get into – it helps to invite the viewer into the painting.
  2. After I finish this file, I save it in a folder on my computer. I have organized my folders like such: Art/Word/Art Descriptions
  3. Next I take a photo of the art. I have a music stand on which I place the art in a room with good natural light. The music stand helps me keep the art at eye level so I can get a good photo.
  4. After taking the photo, I bring it into Photoshop, crop it and make any edits needed (i.e. light adjustments to be sure the photo looks as close as possible to the original). Then I save the file on my computer as such: Art/images/Landscape/March2016. The file name includes the name of the piece and the number, i.e. DeepWater3161O.
  5. I list the painting on my website and in Artwork Archive, a new tool I have discovered that helps keep my inventory organized online. I am only in one gallery now, but as my journey progresses, Lord willing, I will be ready to manage work that is in more than one gallery. You can sign up for a free trial of Artwork Archive here.
  6. I share the painting on my Facebook page and Instagram. I have shown phases of the painting on Instagram, but I might do that less as I don't believe people read. I have had great response and encouragement from Instagram.

What does your process look like?

Imagination and Memory

Sometimes I have reference photos for paintings that are the wrong season of the year, you know like in winter where there are no leaves on the trees. I don’t really want to paint trees like that but of course I could if it was an enchanting, snowy scene. Sadly, most of my winter photos are not enchanting.

So. Enter imagination.

Reference Photo

Reference Photo

If I had painted this painting closer to the photo, you would have seen lots of black tree branches and not much to lead your eye through the painting. I knew before I started that I would need to use a little imagination.

What drew me to take the photo was the clump of reddish brush in the front left. I really loved that. And the water hiding in amongst the trees.

Before I began painting, I created a small thumbnail value study to see where to put the lights, darks and highlights.

When it came time to add color to the values I had some decisions to make. Did I want a spring like painting with lots of greens and yellow, or a fall scene with the beautiful golds and oranges and reds that happen that time of year.

Because of my aforementioned attraction to the red brush, I decided to go with a fall color palette, imagining what it might look like if the leaves were in full color and the grass was putting on its gold in preparation for winter.

Hidden Pond © Beth Cole Pastel on Paper - SOLD

Hidden Pond © Beth Cole Pastel on Paper - SOLD

Thank you imagination and memory. 

Expressing Your Art Aesthetic

Expressing Your Art Aesthetic
by Beth Cole

One of the things that was the most frustrating to me when I first started painting was knowing how I wanted something to look and being unable to make it so with my paintbrush. Ugh.

It makes sense though, really, if you think of it. You have had your whole life to develop an art aesthetic. Think of the thousands of millions of images, sight, sounds, designs, artworks, etc your brain has processed throughout your years of living. Through that process of seeing you have culled and developed your art sense, a sense of what you like and don’t like. Everyone does. Sometimes you can’t put into words why you like or dislike something, it is just that way. Unspoken.

So when you start painting, you bring to the studio this highly refined and developed aesthetic of what you like. And you know what. It doesn’t come out on the canvas right away, believe me.

Don’t give up. Nothing beats practice. And reading. And asking questions. Find mentors who paint to your aesthetic, then sit yourself down in front of them and soak it all in. There are so many great ways to learn and practice. We are so fortunate to live in the age of the interwebs where the world is at your fingertips. Seriously.

Here are some of the mentors and teachers I have loved the most.

If you are like me, it might take awhile to narrow down your choices, find a style and a voice that works for you. In fact, I am still in that process. Maybe I always will be.

But, anyway. Just wanted to say, don’t get discouraged if your painting doesn’t look like you imagined it would. It will come. Please keep going. The world needs art and you can do so much good to others with it. Hang in there.
Tips For Your Summer Art Shows


I was asked recently by a friend for some advice about doing a summer art show. I am certainly not the most experienced at this, but I am happy to share what I have learned so far.

Art Show Setup

Art Show Setup

I have a 10 x 10 white tent (no sidewalls) and three gridded snap together walls that I use for the booth. My husband always helps me set it up. I usually have a fabric backdrop behind the grid so it has a softer look.

I try to take about 20 pieces of original art of various sizes. I have several pretty big pieces ( i.e. 40 x 40 or 24 x 36), then I fill in the rest of the space with smaller pieces. A seasoned artist told me once that I needed to have some of all price ranges and sizes of art - small, medium and large so that the customer can see the value range and have choices. I have found this to be true.

I have not taken canvas wrapped prints or matted prints, I have just concentrated on selling originals. That may change in the future, but for now I just try to keep it simple. The only other things I have taken to sell are some handmade perfume lockets and some notecards with prints of my originals. 

Other things I have learned......I have a small white table that raises to a taller height. I use that at the front of the booth as a "cashier" stand and display table. I cover it with fabric so it looks softer. This is where I have displayed the perfume lockets, notecards, a signup sheet for my email list, etc. 

I take a chair to sit in when I am tired of standing, but I don't put the chair in the booth, I always place it across from the booth or outside somewhere. I have found that if I am sitting at the front of the booth, people are hesitant to walk in, but when I am not visible, more people will stop in and browse. I only approach people if they are showing interest or have been looking at the paintings with interest for longer than usual. This may not be a very good sales tactic, but it has worked for me. I just try to give people space. If they love something, they will definitely be back. God knows! I trust Him.

As far as taking payments, I use Square and my iPhone and it works beautifully. I love the system very much and have never had any issues with it.

I really love art shows because it gives me a chance to see how people connect and respond to my pieces. I have had some shows that are really good and others not as much. It is all a learning process. I always have business cards and as a result of shows I have gotten later sales, i.e. commissions and invitations to other events. 

What have you learned about doing art festivals and shows?

Why I Love Underpainting

Pastel Underpainting 

Pastel Underpainting 

I took a fantastic pastel class from Karen Margulis a few months ago, and since then I have been hooked on under painting and hope you, if you are not already, maybe you will also become a fan.

There are many beauties and benefits to under painting, some of which are….

  • It gives you a roadmap for your painting.
    The first part of mapping a painting is to do a thumbnail sketch with 3 or 4 values. Once you are satisfied with this, you can easily do your under painting following the map of the thumbnail.
  • It helps you work out the value relationships.
    Your thumbnail is just a rough sketch. The under painting can be refined a bit further, helping you to adjust the value relationships if necessary. If the composition doesn’t look good in the thumbnail, chances are it won’t work itself out in the under painting, so it’s always best to start with a thumbnail that works.
  • You can establish a foundation that will help your painting glow.
    If I want my painting to have a warm feel, I will often start with a cool under painting to help the warm colors come to life. I like using four values of the same color to do the under painting, i.e. four blues or four purples, but there are many ways to do it.
  • It helps you fix problems before you start.
    I have finished an under painting and been able to spot areas that are just not working, too close in value or not enough contrast. The under painting helped me to see the problem before I started on the top layers.
  • You can simplify your painting more easily.
    I like to paint big shapes in the under painting because I know I can go back and refine things as the painting progresses. It helps me to stay looser and gives a painterly feel from the beginning. I like not having to chase perfection, it takes away the fear of just starting.

So, do you love under painting, too?